Monday, March 28, 2011
Sunday, March 27, 2011
Baby Shower Cake
I made this fondant covered cake for a baby shower. They wanted a bow and I had never made one before, so I went out to YouTube and found a several videos that show you how. Basically you just cut strips and fold them over to make a loops and make one smaller round loop for the middle. Let them dry -the biggest thing to remember- and then assemble on top of your cake. I let the loops dry (over night) on their side so they didn't go flat. I used a little buttercream to help "glue" everthing in place.
Friday, March 25, 2011
Whooo loves owls and aprons? - Giveaway
I found this cute owl fabric at Hobby Lobby. Of course I had no idea what I was going to do with it, but it had owls on it, so I just had to get some. The next week they had a pattern sale...99¢ each. You just can't pass that up! So here's the owl apron I made. You can never have too many aprons...or owls, right?
The pattern I used was Simplicity #2824.
This apron can be yours, becuase it's a giveaway!! Want to know how to win? Just be a follower or become a follower and leave a comment. Pretty easy, huh?
I will pick a winner by random drawing on Sunday March 27th.
GOOD LUCK!
Make sure to check out some other great give aways here:

Sunday, March 20, 2011
Pocket Size Tissue Covers
I made these tissue covers for a "pay it forward" craft swap on Facebook. The idea: leave a comment on your friend's status and they have to hand make you something. In return, you put the same thing on your status and hand make something for the first 5 people that comment.
I got this easy little pattern from a friend a couple of years ago and it has really been handy. These would be a perfect gift for your friends that have spring allergies.
Start with 2 pieces of fabric cut to 6 1/2 x 7 inches each.
I got this easy little pattern from a friend a couple of years ago and it has really been handy. These would be a perfect gift for your friends that have spring allergies.
Start with 2 pieces of fabric cut to 6 1/2 x 7 inches each.
Put right sides of fabric together and sew 1/4 inch from the edge all the way around. Leave an opening on the long side for turning. Then turn out and iron. Press the opening to the inside.
Now we can add a little decoration by sewing some rick rack on the short ends.
Time to close it up. Bring the short edges to the middle with the inside fabric to the outside. There are two ways to do this, you can overlap the edges or meet them in the middle. I prefer to overlap. Sew each end 1/4 inches from edge then turn right side out. Now you are ready to put the tissue pack in.
Here is the finished product.
Thursday, March 17, 2011
Happy St. Patrick's Day
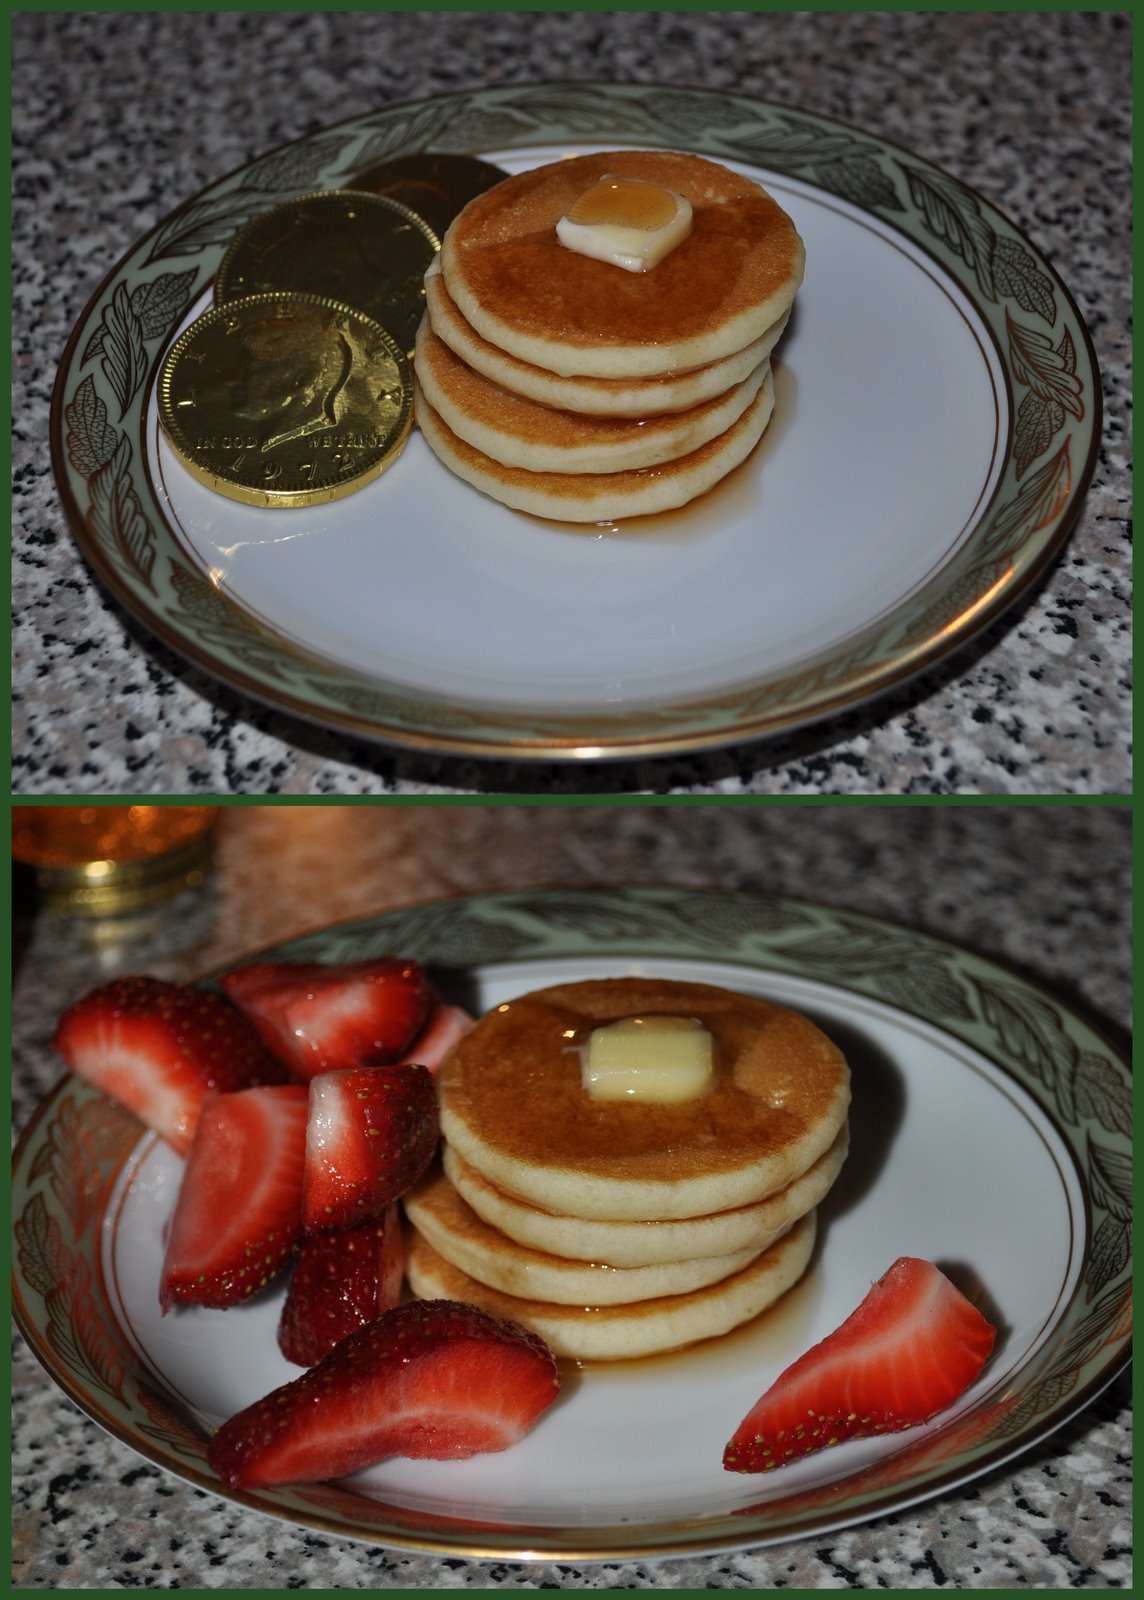
What better way to start St. Patrick's Day than with mini leprechaun pancakes and gold coins. No real cooking required. Just buy the mini Eggo pancakes, zap them in the microwave, stack 'em on a small plate or saucer, add a small piece of butter, and pour the syrup.
Little goodies bags for my card making buddies.
Sunday, March 13, 2011
Home Repairs and Disney Antiques
My hubby and I have been working on some home repair/renovations, so I am very behind on my crafts and blogging. Crafting is so much more fun than scraping ceilings! I do have some fun Disney antiques to show you before I get back to sanding and painting. The figurines were found at a local antique store. I can't wait to have my rooms finished so I can diplay all of the fun little things we love.
Snow White. She is from the 60's. I just love her.
1960's Winnie the Pooh pencil cup with sharpener. He is going to stay in my craft area.
My sweet hubby got this off ebay for us. These are the old Disneyland park tickets. I think there are only two sheets missing. Can you imagine using the tickets like this? The back page is a check list of everything.
Friday, March 4, 2011
Subscribe to:
Posts (Atom)