Monday, December 27, 2010

Vintage Disney

Look at the cool Christmas presents that my daughter gave to me.  She gave me a vintage Disneyland pennant and an antique tin Disney water color paint set. I need to flatten the pennant out a litte, but it is in great shape. The paint set was made in the 50's and still has the paints in it.  It is in very good condition and even has an "inspected by" tag under the paints.  I am lovin' my cool gifts!

Posted by Picasa

Thursday, December 23, 2010

Dog Christmas Cookies

When you are doing your holiday baking, don't forget your furry family and friends.  Here is an easy recipe for dog treats. 

2 Cups whole-wheat flour
1 Tbsp. baking powder
1 cup peanut butter (I used chunky, but either is fine...you can even use all natural peanut butter if you like)
1 cup milk
Preheat oven to 375'F.  In a bowl combine flour and baking powder. In another bowl mix peanut butter and milk.  Then combine both bowls and mix all ingredients well. Place dough on floured surface and roll to 1/4 inch thickness.  Use cookie cutters to make shapes.  Bake on parchment paper lined cookie sheet for 20 minutes or until lightly brown.  Cool then store in air tight container.

If you want to decorate them, use peanut butter chips.  Just melt them in the microwave and then spoon into a piping bag.  Remember NOT to use chocolate...it's bad for our fur babies.

Posted by Picasa

Christmas Baking

It has been a busy month and the big day is almost here.  I am glad too, because I am tired. LOL.  Christmas shopping, school parties, gift wrapping, cleaning....and baking. As much as I love it, I am just about baked out.  Give me a few weeks and I'll be ready to go again.  Here are some of the yummy treats I have made this month.
Posted by Picasa

Friday, December 17, 2010

Happy Mail

I did a Secret Santa swap with some of the Crafty Crew and I got my package in the mail a few days ago.  Thank you Kim for all of these wonderful goodies!!  Check out the adorable snowman bracelet - it is too cute.


Posted by Picasa

Christmas Cards

My friend Patty hosts a card making classes at her house.  I love it because I can go there and make cards without having to think up designs myself...she does that for you.  These are the cards we made for Christmas. Aren't they cute?  The first two are my favs.
 

Posted by Picasa

Monday, December 13, 2010

Paper Trees

I was inspired by Chez's paper trees on the Crate Paper blog.  The great thing about these little trees is that you can make look however you want.  Go simple, or totally bling them up!  They are also great little gifts for your paper crafting friends.

 You need some paper cones, adhesive, 12 x 12 pattern paper, and the Martha Stewart fringe scissors.  Just so you see how inexpensive this project can be, I got the paper 4 for $1.00 and the paper cones were $3.50 with 4 in a pack.  That is about $1.12 for one basic tree.
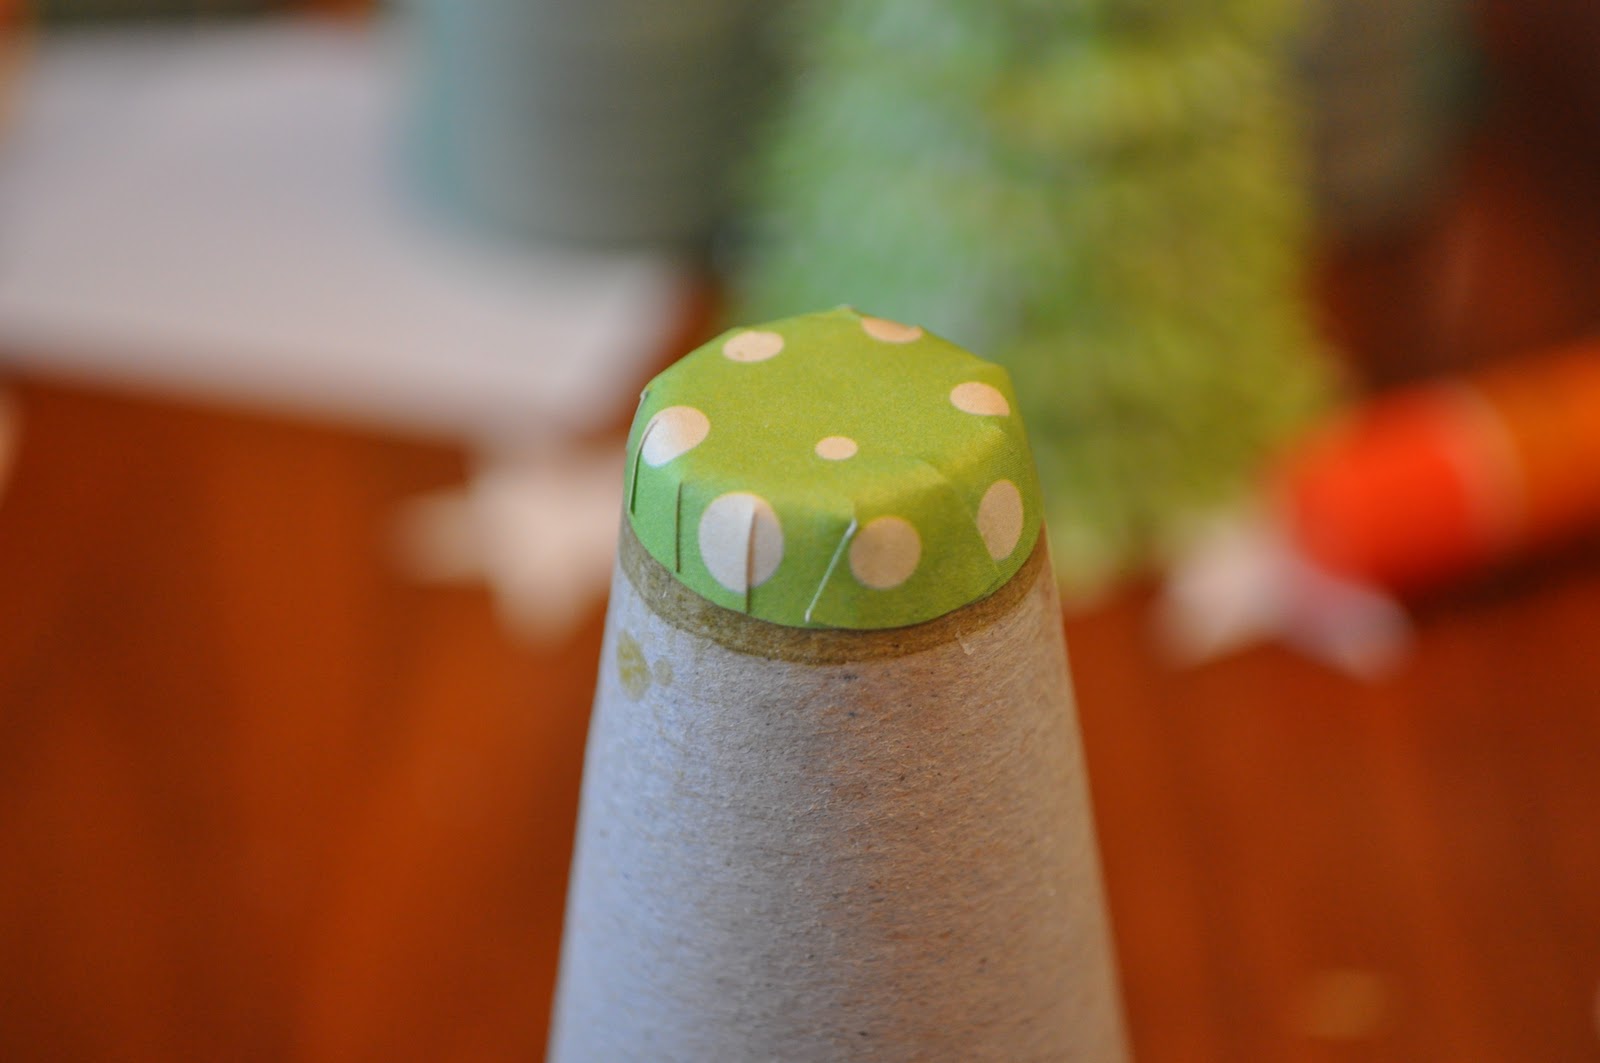
My cones have a little hole at the top, so you will want to cover it before you get started. 
Cut strips of paper at 1 1/2 inches by 12 inches.  Then make the fringes with the Martha scissors.
Start applying the strips at the bottom of the cone and work upward.  Leave a little hanging off the bottom on the first strip.
After you cover your cone, fluff your fringes and add some ornaments....or what ever you like.  I think they are even cute without decorations.
 
If you don't have the Martha scissors, you may like the way they made the paper trees that were on the cover of the Scrapbooks etc. magazine too.  Merry Christmas!

Friday, December 3, 2010

Disney on Ice Goody Bags

Tonight my Girl Scout troop will be going to see Disney on Ice - Princess Classics. I know the girls will want to buy everything they see, so I have made goody bags to help control the begging.

I found Disney princess lunch sacks for $1.00 per pack and there are 20 in each pack.  In the lunch sack each girl will get a home made princess crown cookie, Disney princess silly bands ($1.00 per pack), 2 glow bracelets (20¢ each), a princess wand (12¢ each), and a patch for their vest that came with the tickets.  That is less than $2.00 per girl for a souvenir.  That sure beats one item bought there for $15!
I know it's not "from scratch", but the Betty Crocker sugar cookie mix is pretty good and saves some time.  I did make the royal icing though.  To add a some sparkle to the cookies I sprinkled a little disco dust on them and added some edible pearls and beads.


Thursday, December 2, 2010

Christmas Apron

I made these little "Mom and Me" aprons using the Simplicity pattern #2492.  It was very easy.  I love the vintage print on the fabric.  It is by Alexander Henry and is called "Angel Cakes".

Thursday, November 25, 2010

Thanksgiving


Here is the kids' table.

The place mat is construction paper and the table is covered in craft paper. Everyone gets crayons to doodle on it all they want.

 
A simple little banner.


Here is the big paper bag turkey.  His "stuffed" with popcorn.  The kids got to carve him themselves.

The corn is a goody bag full of stuff to keep the kids busy. Silly putty, a comic strip, stickers, gel pen, pop rocks and smarties.

This is what it looked like at their seat.  They even had their own mini pumpkin pie.

Wednesday, November 24, 2010

Acorns and Leaves

We have made it over the river and through the woods. Now I am ready for some good food and yummy desserts. These are the cupcakes and cookies I made today. Looks like I have an acorn and leaf theme going on here. I used fondant to make the cupcake decorations.


Posted by Picasa

Sunday, November 21, 2010

Turkey Cake

I made this guy last Thanksgiving.  He is made from plastic cake mold.  I found mine at our local cake store, but you can find them on line too.  Click here to see one.  I used a star tip for the body and the leaf tip for the feathers.
Posted by Picasa

Thursday, November 18, 2010

Thanksgiving Cards

I can't believe Thanksgiving is a WEEK AWAY! Wow! Don't forget to get your cards in the mail.
Posted by Picasa

Monday, November 15, 2010

Turkey Drumsticks

Who doesn't love a good cupcake?!? How about one that looks like a turkey drumstick?? Here's how to make them - Bake your favorite cupcakes. While those are in the oven, draw out a bone shape on paper. (Draw a heart at one end with two lines coming down.) Cover the drawing with wax paper then use melted white chocolate to trace your design. Pop it in the fridge. Now crush Corn Flakes. When cupcakes have cooled and the bone have set up, ice the cupcakes heavily. Poke the pho-bone down in the cupcake. Finish it off by coating the icing with the crushed cornflakes. Once they are coated, you can use your hands to shape them.

These are great for Thanksgiving or even for April Fool's Day food.
Posted by Picasa

Pilgrim Hats

These cute little hats serve as place cards for your Thanksgiving table. They are super easy to make and don't cost a lot either.  Plus you can change the name and use them over and over.


You will need small terracotta pots, white ribbon, yellow craft felt, chalkboard paint, and adhesive.  Paint the pots and let dry for 24 hours.  I used one layer of the craft paint, then used the spray Krylon for a final layer.  Cut little rectangles for the buckles and make slits so the ribbon will fit through.  Glue to the hat.  Then write the names in chalk.  I already had the chalk board paint. I bought the pots, felt and ribbon at Hobby Lobby and spent less then $5.00.  You could also use the weekly coupon and look for sales to spend less.


Posted by Picasa

Wednesday, November 10, 2010

Paper Ginger Bread House

Here is a ginger bread house you can enjoy year after year....because it's paper.  The cotton candy smoke is poly fil, the candy on top is painted wooden balls and the lollypops and peppermints are mini ornaments. The white icing is a liquid applique that puffs up. The rest is paper, including the candy canes.  I used velum for the window, so you can put a little light inside and it shines through.


UndertheTableandDreaming